How to Remove Varnish from Wood: A Complete Guide
Varnish is a popular finish for wood surfaces, offering protection and a glossy appearance. However, it can become worn, scratched, or outdated over time. Removing old varnish from wood can help you restore its natural beauty or prepare it for a fresh finish. This guide explains why removing varnish polish is necessary, the methods you can use, and helpful tips for achieving the best results.
Why Remove Varnish from Wood?
Removing varnish is essential when you want to refinish or repair wood surfaces. Some key reasons to remove varnish include:
- Restoration
If the varnish has become scratched, chipped, or discolored over time, stripping it allows you to restore the wood to its original state.
- Refinishing
Removing varnish is the first step in preparing wood for a new coat of paint, stain, or fresh varnish.
- Repairs
If the wood beneath the varnish is damaged or needs repairs, removing the old varnish helps reveal any cracks or imperfections that need attention.
How to Remove Varnish from Wood?
There are several methods for removing varnish from wood, and the best one depends on the type of wood, the amount of varnish, and the tools you have available. Here’s a step-by-step breakdown of the most common methods:
- Chemical Strippers
Chemical strippers are one of the most effective ways to remove varnish, especially for large surfaces or intricate woodwork. Look for a paint or varnish remover that is designed for wood surfaces. There are different types of strippers, such as gel-based or liquid options. Gel strippers are ideal for vertical surfaces as they cling better to the wood.
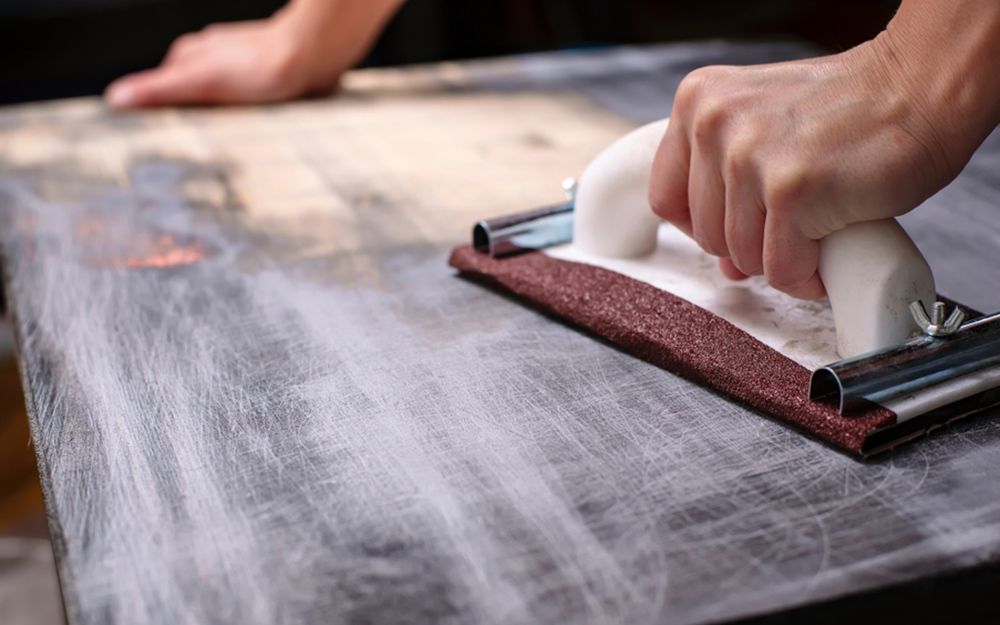
- Sanding
Sanding is another popular method for removing varnish, particularly for flat surfaces like tabletops, doors, or wooden floors. Start with a coarse-grit sandpaper (around 60-80 grit) to remove the varnish. Once most of the varnish is gone, switch to finer grit (120-150 grit) to smooth the wood.
- Heat Guns
Heat guns can efficiently remove varnish from wood by softening it, making it easier to scrape off. Set the heat gun to a medium or high heat setting. Be cautious, as too much heat can scorch the wood. Hold the heat gun a few inches away from the surface and move it slowly across the varnish. You’ll notice the varnish bubbling and softening.
What to Consider Before Removing Varnish?
Before starting your varnish removal project, there are some important factors to keep in mind:
- Wood Type
Some woods are more delicate than others. Softwoods like pine may require gentler methods, while hardwoods like oak or maple can handle more aggressive techniques like sanding or heat guns.
- Safety Precautions
Many chemical strippers contain harsh chemicals. Always wear protective gear, such as gloves and goggles, and work in a well-ventilated area. When using a heat gun, be careful to avoid burns or fires.
- Surface Size
Consider the size of the surface you’re working on. For large flat surfaces, sanding or chemical strippers may be more efficient. A heat gun or hand sanding for smaller or more detailed areas could be a better option.
Tips for Removing Varnish Better
Here are some tips to ensure you get the best results when removing varnish from wood:
- Before starting the full project, test your chosen method in an inconspicuous spot to see how the wood reacts.
- Sometimes, a combination of methods works best. For example, you might start with chemical strippers to remove most of the varnish, then sand the surface for a smooth finish.
- For larger surfaces, it’s easier to work in sections. This prevents the stripper from drying out or the varnish from cooling down if you’re using a heat gun.
- Removing varnish can take time. Don’t rush the process, especially when working with delicate wood or intricate details.
Conclusion
Removing varnish from wood is important for restoring or refinishing wood surfaces, as emphasized on woodemotions. Whether you choose chemical strippers, sanding, or heat guns, preparation and patience are key to success. By following the right steps and considering your wood type and surface size, you’ll achieve a clean, smooth finish ready for whatever you plan next.