How to Apply Custom Stickers and Labels Without Air Bubbles
Applying custom stickers and labels can transform your belongings, branding, or even home decor. However, one of the most frustrating issues is the presence of air bubbles that can spoil the look and functionality of your stickers. Fear not! With a bit of technique and patience, you can achieve a smooth, professional finish. This guide will walk you through the process of applying a custom sticker and labels without air bubbles, ensuring that your projects look polished and beautiful.
Why Air Bubbles Occur
Before diving into the application process, it’s important to understand why air bubbles form. Here are some common reasons:
- Poor Surface Preparation: Dust, dirt, or moisture can create barriers between the sticker and the surface, leading to bubbles.
- Incorrect Application Technique: Rushing the process or applying pressure unevenly can trap air underneath the sticker.
- Temperature and Humidity: High humidity or extreme temperatures can affect the adhesive and make the sticker less pliable.
Essential Tools and Materials
Before you start, gather the following tools and materials for a successful application:
- Custom Stickers or Labels: Ensure they are high quality and suited for the intended surface.
- Squeegee or Credit Card: A flat tool helps to push air out while applying pressure evenly.
- Rubbing Alcohol and Cloth: For surface cleaning.
- Tape: To help position your stickers before full application.
- Utility Knife (Optional): For precise trimming, if necessary.
Step-by-Step Guide to Applying Stickers and Labels
Step 1: Prepare the Surface
- Clean the Area: Use rubbing alcohol and a clean cloth to wipe down the surface where the sticker will be applied. This removes any dust, oil, or residue that could interfere with adhesion.
- Dry the Surface: Ensure the area is completely dry before moving on.
Step 2: Position the Sticker
- Use Tape for Positioning: If you’re unsure about placement, use masking tape to temporarily hold the sticker in place. This allows you to adjust as needed before finalizing the application.
- Check Alignment: Step back and ensure the sticker is aligned correctly.
Step 3: Apply the Sticker
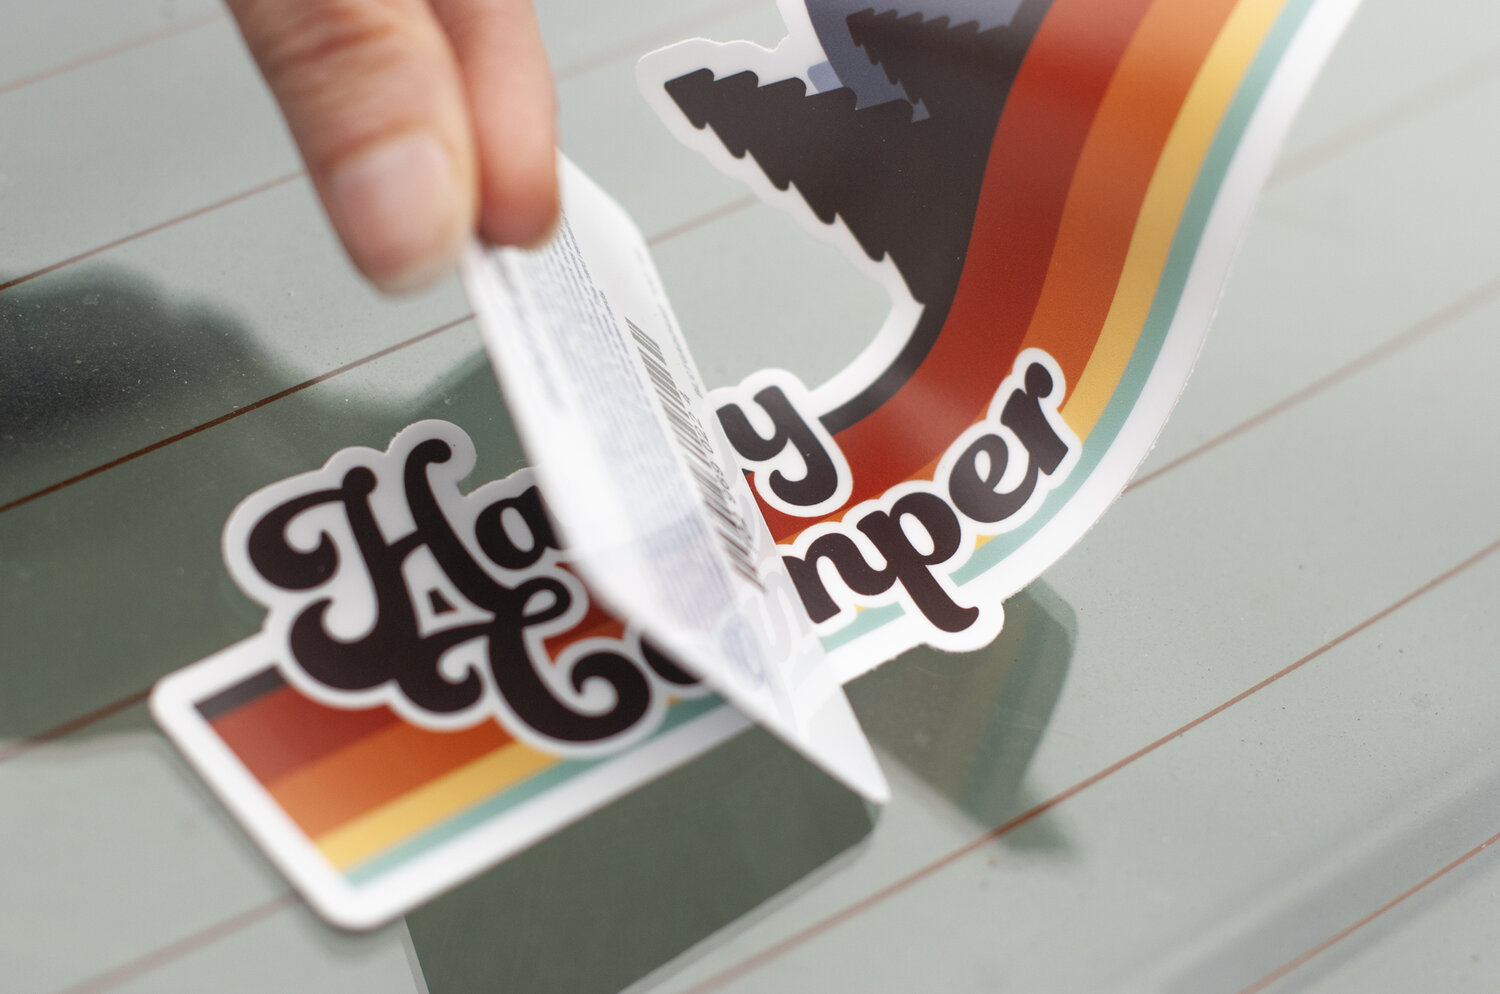
- Peel Off the Backing: Gently peel away the backing of the sticker, being careful not to touch the adhesive side with your fingers.
- Start from One Edge: Align one edge of the sticker with the surface and press it down lightly.
- Squeegee Technique: Use a squeegee or credit card to press down the sticker. Start from the center and work your way outward to push out any air bubbles. Maintain even pressure to avoid creating new bubbles.
- Continue Applying: Gradually work your way to the edges of the sticker, ensuring no air gets trapped underneath.
Step 4: Remove Air Bubbles (If Necessary)
If you do encounter bubbles, here’s how to fix them:
- Use a Pin: Carefully pierce the bubble with a needle or pin to create a small hole.
- Squeegee Out Air: Use your squeegee or credit card to press the air out from under the sticker towards the hole.
- Press Down the Sticker: Ensure the sticker adheres properly around the hole to prevent lifting.
Step 5: Finishing Touches
- Trim Excess: If your sticker overlaps a surface edge, use a utility knife to trim off any excess carefully.
- Allow Adhesive to Set: Give your sticker some time to set according to the manufacturer’s recommendations. Avoid touching or cleaning the area for at least 24 hours to ensure the best adhesion.
Tips for a Successful Application
- Choose the Right Environment: For best results, apply stickers in a climate-controlled environment. Avoid extreme temperatures and high humidity.
- Practice on a Scrap Surface: If you’re new to sticker application, consider practicing on a scrap piece of material first.
- Take Your Time: Rushing can lead to mistakes. Take your time to ensure a professional finish.
Conclusion
Applying custom stickers and labels doesn’t have to be a daunting task! By following these steps and being mindful of your environment and techniques, you can achieve a smooth, bubble-free application every time. Whether you’re personalizing your space or promoting your business, well-applied stickers can make a significant impact. Happy sticking!